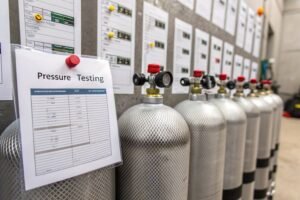
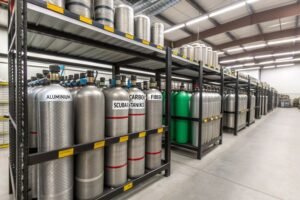
Your customer's life is in your hands. A faulty scuba tank can ruin your business's reputation instantly. You need a safety process that goes far beyond a simple pressure check.
The most reliable way to check a scuba tank is through a multi-step process. First, use a calibrated pressure gauge. Second, perform a detailed visual inspection of the tank body and valve. Finally, ensure the tank is within its hydrostatic test date for complete safety and compliance.
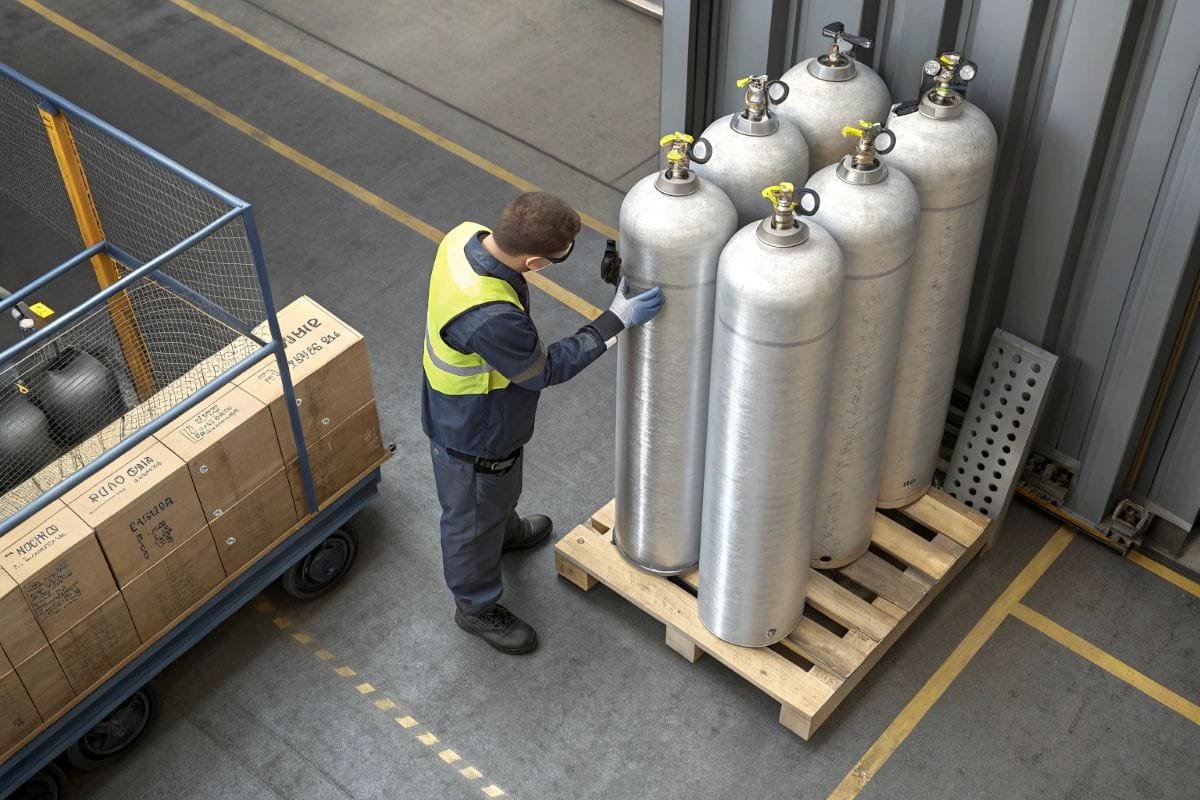
For a business owner like you, a scuba tank isn't just a piece of equipment. It's a promise of safety to your customers. It's a reflection of your brand's standards. I've built my factory, Snowrain, on the principle that quality saves lives and builds reputations. When a customer trusts you with their dive, they are trusting every piece of gear you provide. Simply glancing at a pressure gauge isn't enough to uphold that trust. Let's explore what it really takes to ensure every cylinder in your inventory is safe, reliable, and ready for business.
What are the professional methods for accurately checking a scuba tank's pressure?
You think your gauges are accurate enough. But what if they are off by 200 PSI? This could leave a diver short on air or risk overfilling, stressing the cylinder.
For professional operations, always use a dedicated, high-quality master pressure gauge that is calibrated regularly. Check the tank's pressure with this master gauge before filling and verify it after filling to ensure accuracy and safety for every customer.
In my years of manufacturing high-pressure cylinders, I've learned that precision is everything. It's not just about getting a reading; it's about getting the right reading, every single time. An inaccurate gauge is a liability waiting to happen. For your daily operations at a fill station or dive shop, you can't just rely on the diver's personal submersible pressure gauge (SPG). These are great for in-water use but are not precision instruments.
The Tools for the Job
Your first investment should be in a top-quality master gauge for your fill station. This is your source of truth.
- Digital Gauges: These offer excellent precision and are easy to read. Their main downside is that they require batteries.
- Analog Gauges: A good, oil-filled analog gauge is incredibly reliable. Look for one with a large, clear face and a high accuracy rating (ASME Grade 1A or better).
The Process Matters
Your process should be consistent. Before connecting any tank to your fill whip, check its existing pressure. This tells you if the tank has a slow leak. After filling, let the tank cool for a bit. The pressure will drop as the tank cools down. Top it off to the correct service pressure once it has returned to ambient temperature. This extra step shows professionalism and ensures your customer gets the full, safe fill they paid for.
Why is a rigorous tank inspection process critical for your diving business's reputation and liability?
Cutting corners on inspections saves a few minutes. But one accident, one tank failure, can lead to lawsuits and destroy the trust you've spent years building. Your brand could disappear overnight.
A rigorous, documented inspection process is your best defense against liability. It demonstrates due diligence, builds unshakable customer trust, and solidifies your reputation as a premier, safety-conscious diving operation.
I see my clients not just as buyers, but as partners in safety. Your success is my success. And nothing ensures long-term success more than a spotless safety record. Think of your inspection log as more than just a notebook; it's your business's insurance policy. In the unfortunate event of an incident, a well-maintained logbook showing consistent, thorough inspections can be a lifesaver from a legal standpoint. It proves you took every reasonable step to ensure safety.
Beyond the Law: The Power of Trust
But this goes beyond just legal protection. Your customers, especially experienced ones, can spot a professional operation. When they see you carefully inspecting every tank before you fill it, they don't see a delay. They see a business that values their life. This builds a deep level of trust that no amount of marketing can buy. That customer will come back. They will tell their friends. They will post positive reviews. I've seen small dive shops grow into regional leaders, and they all have one thing in common: they are obsessive about their safety and inspection protocols. It becomes a core part of their brand identity.
What are the key differences when inspecting aluminum versus carbon fiber scuba cylinders?
You inspect every tank for dents and dings. But the most dangerous flaw in a carbon fiber tank is nearly invisible, while a common aluminum alloy has its own hidden risks.
For aluminum tanks, focus on dents, gouges, and sustained load cracking (SLC), especially in the neck threads. For carbon fiber tanks, look for impact damage, deep abrasions, and signs of resin damage like blistering or fiber fraying.
As a manufacturer of both aluminum and carbon fiber composite cylinders, I can tell you they are fundamentally different beasts. You cannot use the same inspection mindset for both. Each material has unique strengths and potential failure modes that you absolutely must understand to run a safe operation. Treating them the same is a common but dangerous mistake.
A Tale of Two Materials
An aluminum tank is like a classic, reliable workhorse. It's tough, but it can get tired. A carbon fiber tank is like a high-performance race car. It's incredibly strong for its weight, but it's sensitive to specific types of damage. Here is a breakdown of what my quality control teams look for.
| Inspection Point | Aluminum Cylinders (e.g., Alloy 6061) | Carbon Fiber Composite Cylinders |
|---|---|---|
| Surface Damage | Look for dents, gouges, deep scratches. A sharp dent is a stress point. | Look for impacts, abrasions, and cuts. Deep cuts in the resin are serious. |
| Hidden Cracks | Check neck and shoulder area for Sustained Load Cracks (SLC), especially in older tanks made from alloy 6351. | Damage is often in the resin. Look for milky spots, blisters, or fuzzy "fraying" of fibers. |
| Corrosion | Check for pitting and oxidation, especially under the boot and around the valve. | The aluminum liner can corrode. Check internally during hydro testing. The exterior is highly resistant. |
| Response to Impact | Dents visibly. A large dent can condemn a tank. | May show little visible damage from an impact, but fibers underneath could be broken. Any impact is suspect. |
| Weight | Heavier, but more resistant to abrasion. | Lighter, but the outer resin wrap is more sensitive to being dragged or scraped. |
Remember, with carbon fiber, you are inspecting the protective resin layer as much as the tank itself. If that layer is compromised, the structural carbon fibers underneath are at risk.
How can your cylinder supplier's quality control directly impact the safety and lifespan of your inventory?
You find a supplier offering a very low price. You place a big order. But the shipment arrives with inconsistent threads and failed hydro tests, turning your great deal into a huge headache.
A supplier with world-class quality control provides cylinders with consistent material purity, uniform wall thickness, and perfect threading. This directly translates to safer products, a longer service life, and fewer rejected tanks during inspection.
This is where my responsibility begins. The safety of your customer starts on my factory floor. I've had buyers, like you, come to me after getting burned by a "too good to be true" offer. They received a container of cylinders where half the valves wouldn't thread properly, or a significant percentage failed their first local hydrostatic test. The money they thought they saved was lost ten times over in wasted time, return shipping, and reputational damage.
What Happens in the Factory Matters
When you're choosing a partner to supply your high-pressure cylinders, you're trusting their entire process. You need to ask them questions.
- What materials do you use? We use high-strength, corrosion-resistant aluminum alloy 6061 and premium carbon fiber. Sourcing the best raw materials is the first, non-negotiable step.
- What is your testing process? Every single one of our Snowrain cylinders goes through a series of tests, including a hydrostatic test to 1.5x its service pressure. We also use non-destructive tests like ultrasonic inspection to find flaws that the naked eye could never see.
- How do you ensure consistency? With five production lines, our process control is strict. We use precision CNC machines for threading and automated systems to ensure every cylinder wall is the exact thickness required. Inconsistency is the enemy of safety.
A good cylinder from a reliable manufacturer makes your job easier and safer. It will pass its visual inspections and hydro tests for many years, giving you and your customers peace of mind.
What are the industry best practices for handling and storing high-pressure dive tanks to prevent damage?
Tanks are left standing loose in a corner. They get knocked over. A valve gets sheared off. Suddenly, you have a 3000 PSI projectile in your shop. This is a real, and preventable, danger.
Always store cylinders securely in racks, whether upright or horizontal. Keep them in a cool, dry area away from direct sunlight and always leave 50-100 PSI of pressure inside to prevent internal contamination from moisture.
A high-pressure cylinder is a massive store of potential energy. It demands respect. The most common and dangerous accidents I hear about from shop owners don't happen in the water; they happen in the back room due to improper storage or handling. A tank falling over and damaging its valve is a nightmare scenario. Luckily, the best practices are simple and easy to implement.
Do's and Don'ts of Cylinder Storage
| Do's | Don'ts |
|---|---|
| DO secure cylinders in a purpose-built rack. | DON'T leave cylinders standing freely on the floor. |
| DO store in a cool, dry, well-ventilated area. | DON'T store in direct sunlight or a hot car trunk. |
| DO keep a small amount of positive pressure inside. | DON'T store a tank completely empty with the valve open. |
| DO use valve caps during transport. | DON'T lift or drag a cylinder by its valve. |
Why leave a little pressure in the tank? It's simple. If the pressure inside is higher than the pressure outside, then air (and the moisture it carries) cannot get inside the tank. An empty tank with an open valve will "breathe" with temperature changes, pulling in moist air that leads to internal corrosion. This single habit can dramatically extend the life of your aluminum cylinders and protect the liners of your carbon fiber ones. It's a small detail that makes a big difference.
How can you create a comprehensive checklist to guarantee every tank you sell or refill meets the highest safety standards?
Your most experienced technician is on vacation. The new guy handles the fills. He's a good kid, but he forgets a few key checks, creating a massive, unseen liability for your business.
Standardize your entire inspection process with a physical or digital checklist. This ensures every employee performs every critical check, every time, creating consistency and a documented paper trail for total accountability.
People forget things. Especially in a busy shop when the phone is ringing and customers are waiting. A checklist removes human error from the equation. It transforms your inspection from a memory-based process into a systematic, repeatable one. It's the ultimate tool for ensuring that your safety standards are upheld no matter who is on duty. For a business owner like David in Australia, a documented process is not just good practice, it's essential for managing a team and protecting the business.
Building Your Bulletproof Checklist
Your checklist should be a living document, but here is a solid foundation to build from. Laminate it and keep it at the fill station.
Tank Inspection Checklist: [Your Company Name]
Date: Tank Serial #: Inspector: ___
-
1. Pre-Fill Verification:
- Hydrostatic Test Date is current (within 5 years in most regions).
- Visual Inspection Sticker is current (within 1 year).
- Check for obvious damage (dents, cracks, gouges, bulging).
- Check valve for damage and smooth operation.
- Check burst disc for integrity.
- Check remaining pressure (note if zero).
-
2. Filling Process:
- Connect fill whip securely.
- Open valve slowly.
- Fill at a slow, controlled rate (e.g., 300-600 PSI per minute).
- Monitor tank temperature. Pause if it gets too hot.
- Stop at the correct service pressure.
-
3. Post-Fill Final Check:
- Allow tank to cool.
- Top off to final service pressure.
- Close valve firmly but do not overtighten.
- Perform leak test on valve and burst disc with soapy water.
- Sign off on the inspection.
This creates accountability. It trains new staff correctly. Most importantly, it ensures nothing is ever missed.
Conclusion
Your reputation is built on trust. A comprehensive inspection process, using quality cylinders from a reliable partner, is the foundation of that trust and the key to your long-term success.
Need a reliable partner for top-quality aluminum and carbon fiber cylinders? Contact me, Snow, at snow@cylindify.com to discuss how we can help secure your supply chain.


